WordPress Matomo Installation Guide
Today, using the right analytics tools is crucial for measuring a website’s success, understanding user behavior, and making strategic decisions. Matomo (formerly known as Piwik) is a powerful, open-source analytics platform focused on data privacy.


What Is Matomo and How Does It Work with WordPress?
Matomo is an open-source web analytics platform that allows website owners to track visitor traffic, user behavior, and conversion rates entirely under their own control. For WordPress users, Matomo stands out not only as an analytics tool but also as a privacy-focused alternative.
While cloud-based systems like Google Analytics 4 (GA4) store data on Google’s servers, Matomo keeps all data on your own server. This provides a significant advantage, especially in terms of compliance with GDPR and KVKK (Turkish Data Protection Law).
With the Matomo plugin for WordPress, installation can be done without any coding knowledge, and visitor statistics can be monitored directly from the WordPress dashboard.
In conclusion, Matomo offers WordPress users a secure, transparent, and customizable analytics experience, making it a more independent and sustainable solution compared to GA4.
Requirements for Using the WordPress Matomo Plugin
Before integrating Matomo into your WordPress site, you need to decide which installation method you prefer. Matomo can be used in two different ways:
Cloud Version: You can use Matomo’s official cloud infrastructure to start collecting analytics quickly without any technical setup.
On-Premise Hosting: If you want full control over your data, you can install Matomo on your own hosting or VPS server.
Depending on your chosen method, the requirements may vary. However, to use the Matomo plugin on WordPress, your system should meet the following requirements:
- WordPress version: 5.0 or higher
- PHP version: 7.2 or higher (PHP 8.x recommended)
- MySQL version: 5.5 or higher (MariaDB 10.0+ is also compatible)
- HTTPS support: SSL certificate recommended for secure data transmission
- Matomo for WordPress plugin: Available for free from the WordPress plugin repository
Once these requirements are met, you can run Matomo seamlessly on your WordPress site and start collecting visitor statistics under your full control.
How to Install the Matomo WordPress Plugin
Installing the Matomo Analytics plugin on WordPress is quite simple. Users can complete the installation using two different methods:
1. Installing from the WordPress Plugin Directory
- Go to your WordPress dashboard and navigate to “Plugins > Add New.”
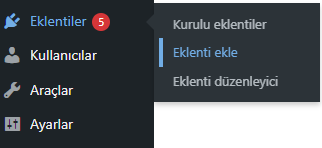
- Type “Matomo” into the search bar.
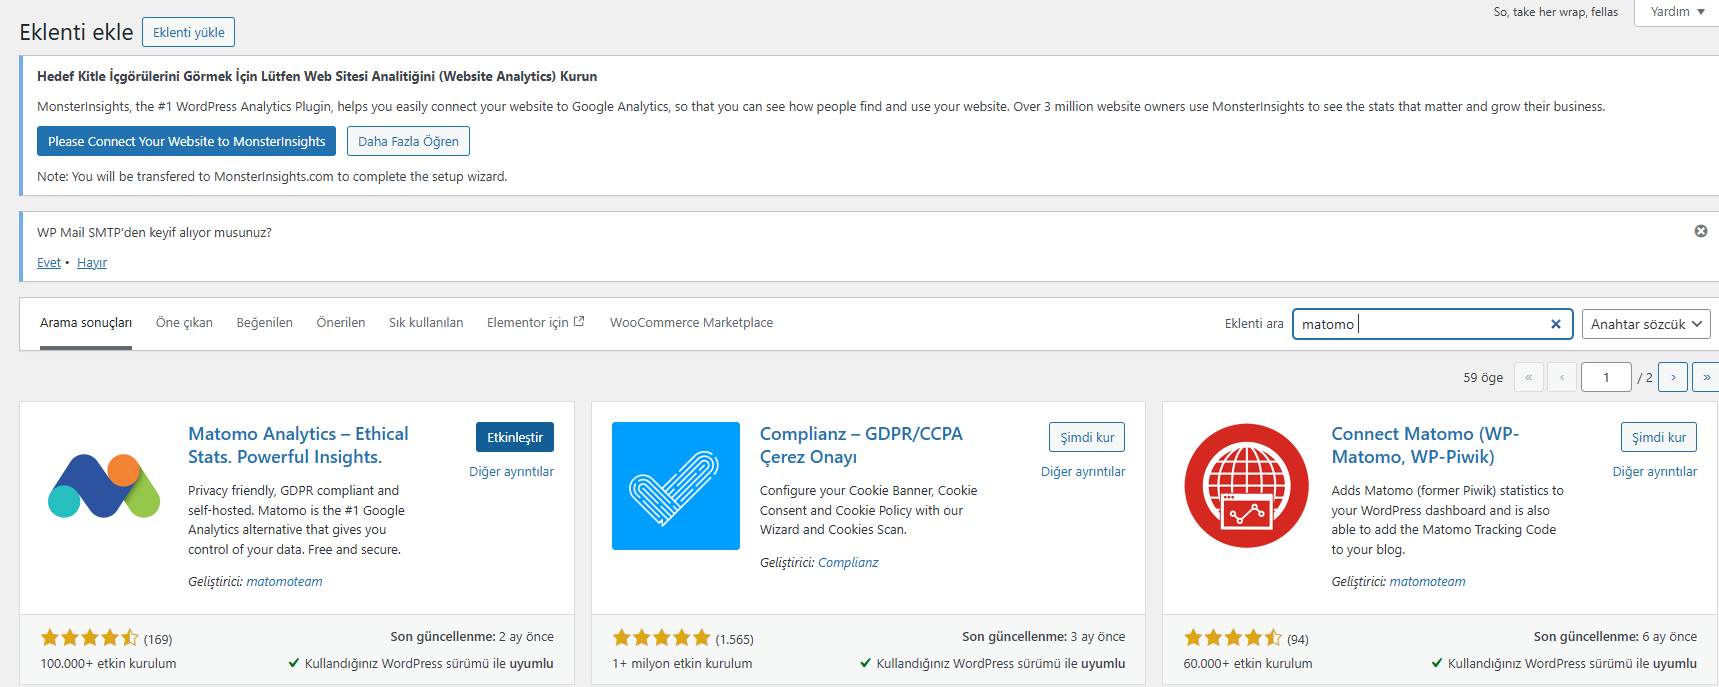
- Among the results, find the plugin named “Matomo Analytics – Ethical Stats. Powerful Insights.” and click the “Activate” button.
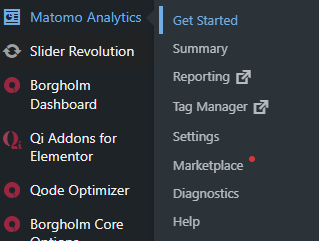
Once the plugin is activated, a new “Matomo Analytics” tab will appear in your WordPress menu.
From there, follow the steps below to complete the setup: - You’ll be redirected to the Get Started page, where you can choose whether Matomo should store your data within WordPress or on an external Matomo server.
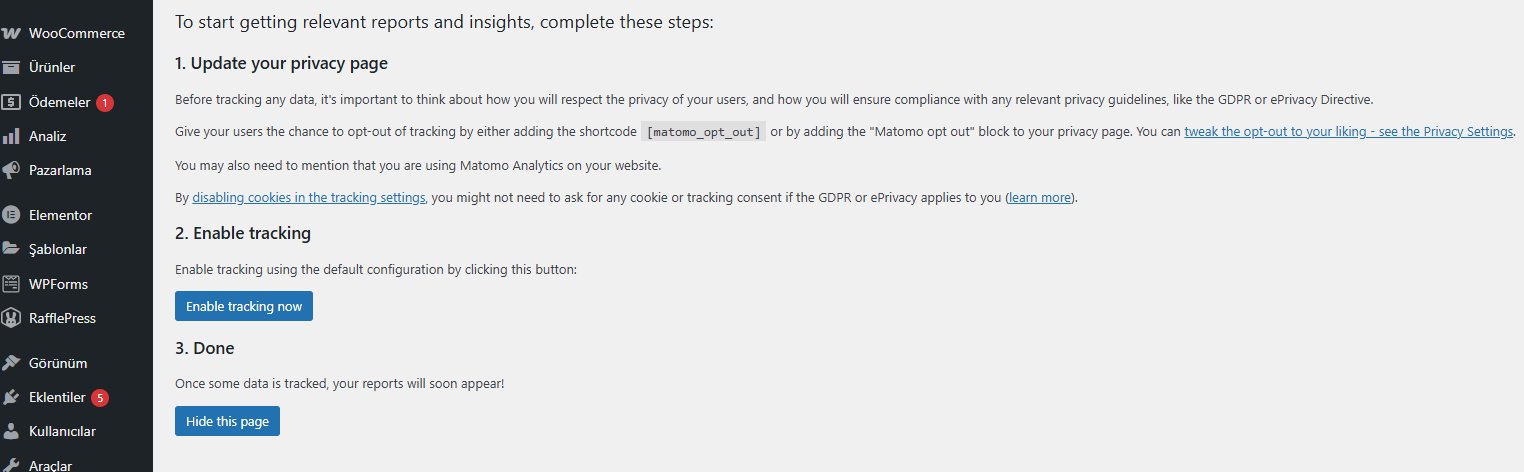
Next, you’ll see the “Enable Tracking” step.
At this stage, Matomo needs to add a tracking code to your site to monitor visitor behavior.
→ Thanks to the WordPress integration, this process is done automatically.
→ Simply click the “Enable Tracking” button to activate tracking
- After enabling tracking, you’ll see the message “Tracking is enabled” at the top of the screen. This message confirms that Matomo has successfully started tracking visitor activity on your website.

- The green checkmark (✔) next to the message visually indicates that tracking is active. You can also see real-time data appearing on the dashboard.

2. Manual Installation (Using a ZIP File)
Download the plugin in ZIP format from the link below:
🔗 https://wordpress.org/plugins/matomo/
In your WordPress dashboard, go to “Plugins > Add New > Upload Plugin.”
Select the downloaded .zip file and click “Install Now.”
Once the installation is complete, click “Activate” to enable the plugin.
After installation, the Matomo Analytics plugin will appear as its own tab in your WordPress dashboard. From this point, you can configure the basic settings and start collecting visitor statistics for your website.
Start Tracking WordPress Traffic with Matomo
After activating the Matomo plugin, you need to complete a few important steps before you can start monitoring your website traffic.
First, it is mandatory to add the following shortcode to your privacy policy page:
[matomo_opt_out]
This shortcode allows visitors to opt out of tracking their data, which is essential for GDPR and KVKK compliance.
After adding the code, go to Matomo > Settings in your WordPress dashboard and enable the “Track visits” option. Once activated, your website traffic will start being tracked automatically.
Accessing the Matomo Interface
From within WordPress:
Click on the “Matomo Analytics” tab in the left-hand menu of your WordPress admin panel to view your visitor data directly.
From the Matomo interface:
If you installed Matomo on your own server, you can log in through your Matomo panel URL to access detailed analytics dashboards.
As your website traffic grows, the amount of data stored in the Matomo database will also increase. To maintain optimal performance, it is recommended to delete old raw data regularly—typically, keeping the last 180 days of data is sufficient.
To automate this process:
Go to Matomo > Privacy > Data Retention and enable “Regularly delete old raw data.”
By doing so, your WordPress site will continue to generate accurate analytics results through Matomo while maintaining both data security and system performance stability.